
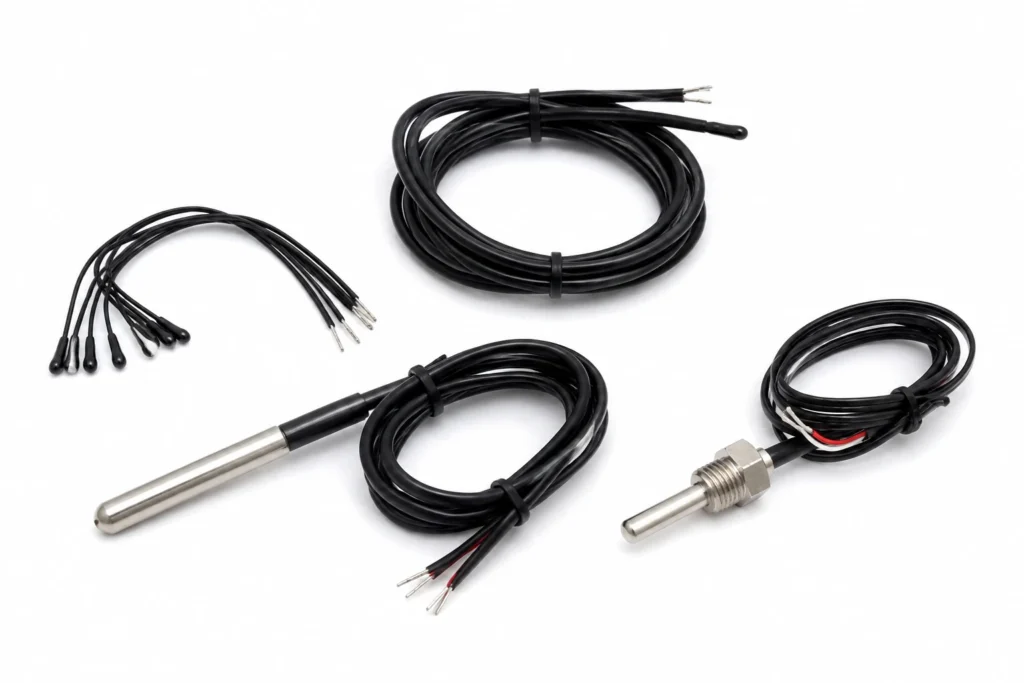
What 12 V DC means for ntc thermistor sensors: at 12 V DC, power follows P = V²/R, so a 120 W element is 1.2 Ω and draws 10 A. Everything downstream of that — conductor gauge, connector rating, the switching device and the isolation the assembly needs — follows from those two numbers.
The Element at 12 V DC
Two equations do all the work: P = V²/R and I = P/V. At 12 V DC, 120 W is 1.2 Ω and 10 A.
| Worked example | 120 W at 12 V DC |
|---|---|
| Element resistance, R = V²/P | 1.2 Ω |
| Current, I = P/V | 10 A |
The span matters more than the example. At 12 V DC a 20 W element is 7 Ω and a 500 W element is 0.3 Ω — a factor of twenty-five in resistance, met by changing the conductor cross-section and the length of the path, both of which are constrained by the outline.
At low voltage the difficulty is current, not insulation. 10 A wants 16 AWG rather than 22 AWG lead wire: 16 AWG is about 13 mΩ per metre, so a 2 m pair adds roughly 0.053 Ω to the circuit and dissipates 5.3 W in the leads instead of in the heater. Contact resistance at a crimp or a connector sits in series with the element in exactly the same way, and on a 1 Ω element a 20 mΩ joint is 2% of the power lost where nobody is looking for it.
The design consequence is that lead length and termination are part of the specification at low voltage. On a 5 V element the leads and the connector can account for a tenth of the total resistance, which shows up directly as a heater that never reaches temperature.
Isolation, Earthing and Safety Class
12 V DC is inside the safety extra-low voltage band, so the supply itself is not a shock hazard and the heater does not need a protective earth or double insulation on that account. The low voltage directive does not apply below 75 V DC.
What still applies is everything else: the element is at the far end of a circuit that can deliver a large current, so short-circuit protection, conductor sizing and the thermal cutoff are unchanged. Low voltage removes the shock risk, not the fire risk.
What an NTC Thermistor Sensors Is
The 10K B3950 thermistor is the default sensor on a low voltage heater: cheap, sensitive, and readable by any microcontroller with one resistor.
A sensing component, specified by its tolerance class, its usable range and its response time. It has no watt density and no outline; it is fitted to a heater or to the surface the heater is warming, and where it is fitted decides what the control loop is actually controlling.
The heat leaves through whatever the component is clamped or bonded to; a sensing component adds no heat of its own and simply has to be in thermal contact with the thing it is reporting on.
| Total thickness | Component |
|---|---|
| Maximum size, one piece | Component |
| Continuous working temperature | 200 °C |
The continuous limit of 200 °C is set by the insulation system. The element alloy would run far hotter; it is never the element that decides.
Switching a DC Element
DC has no zero crossing, so a mechanical contact has to break the arc itself. A relay rated 10 A at 250 V AC may be rated 1 A or less at 30 V DC for exactly that reason, and using the AC number is how contacts weld closed — with a resistive heater on the other side, a welded contact is a heater that cannot be turned off. At 12 V DC and 10 A, use a MOSFET, a DC-rated solid state relay or a contactor with a DC rating.
PWM is the natural control method on DC, and a low frequency is right: a few hertz to a few hundred hertz is plenty for something with the thermal time constant of a heater, and it keeps the switching losses and the emissions down. There is nothing to gain from switching a thermal load at 20 kHz.
One DC-specific failure mode is worth naming: a continuous DC bias across a damp printed circuit drives electrochemical migration between adjacent tracks. It is why a silver-ink element in a humid installation is specified with a conformal barrier or reversed periodically, and why carbon ink is still used where the geometry allows it.
Attachment and Thermal Contact
A sensing component is fitted where it will read the temperature that matters: against the element for a limit device, against the load for a control device. The two positions give different numbers, and choosing the wrong one is the commonest reason a correctly built loop holds the wrong temperature.
A sensor reads its own junction, not the surface it is near. Bed it in thermal compound, clamp it, or pot it into the assembly: an air gap of a tenth of a millimetre between a thermistor and the plate it is supposed to be measuring is worth several degrees of error, and it is an error the controller cannot see.
Control and Protection
This heater has no way of limiting its own temperature. Resistance heating draws roughly the same power whatever the temperature, so with the load removed, the fluid gone, the fan stopped or the sensor open circuit, the element keeps producing watts until something stops it.
The design must therefore contain a control device and, separately, a protective one: a controller with a sensor to hold the set point, and a bimetal thermostat or a one-shot thermal cutoff wired in series with the element to open the circuit if the loop ever fails. The two are not interchangeable — a controller that has lost its sensor cannot protect anything, which is exactly the fault the cutoff exists for.
How This Construction Fails
- Loss of the control loop. An open-circuit sensor, a welded relay contact or a controller in manual leaves the element at full power with nothing watching it — the case the series thermal cutoff exists for, and the reason it must not be omitted to save a part.
- Measuring the wrong thing. A sensor in the air near a heated plate reports the air, and the loop holds the air where the specification wanted the plate. Nothing in the instrument can detect this.
How to Specify One
This is a made-to-drawing part, so there is no catalogue number to quote. A quotation is built from the following, and the more of it that arrives with the enquiry the fewer rounds it takes:
- The temperature to be sensed or switched, and the tolerance the application actually needs.
- Where the component sits — against the element, in the potting, on the load, or in the airflow.
- The electrical duty: for a switching device, the voltage, the current and whether the load is AC or DC.
- Lead length, insulation and termination, and whether the component is fitted by us into a heater assembly or supplied loose.
- The standard the end product is certified to, so the component chosen is one that fits inside that approval.
Lead time: Samples 7-10 days from approved drawing; production 15-20 days.
NTC Thermistor Sensors — Capability Table
These are process limits for the construction, not the specification of one stocked item. Every line is what the factory can hold; what your part holds is fixed on your drawing.
| Parameter | Specification | Limit / note |
|---|---|---|
| Type | Negative temperature coefficient thermistor | Resistance falls as temperature rises, steeply |
| Standard part | 10 ku03a9 at 25 u00b0C, B25/50 = 3950 K | The value nearly every controller expects by default |
| Other values | 5 ku03a9, 50 ku03a9, 100 ku03a9; B values 3435 K to 4100 K | Chosen to match the controller, not the heater |
| Tolerance | u00b11% resistance, u00b11% B value | u00b10.5 u00b0C interchangeable parts available |
| Temperature range | -40 u00b0C to +200 u00b0C depending on encapsulation | Epoxy bead to +125 u00b0C, glass bead to +200 u00b0C |
| Response time | 1 to 10 seconds depending on mass and mounting | Mounting dominates: a sensor in air reads air |
| Encapsulation | Epoxy bead, glass bead, or laminated into the heater | Laminated is what makes it read the element |
| Leads | PTFE or silicone insulated, to your length and termination |
Figures are the published tolerance and rating bands of the standard sensor and control components fitted to these heaters. Sensor tolerance classes follow IEC 60751 for RTDs and IEC 60584 for thermocouples; thermostat and thermal cutoff ratings are the component manufacturers' own.